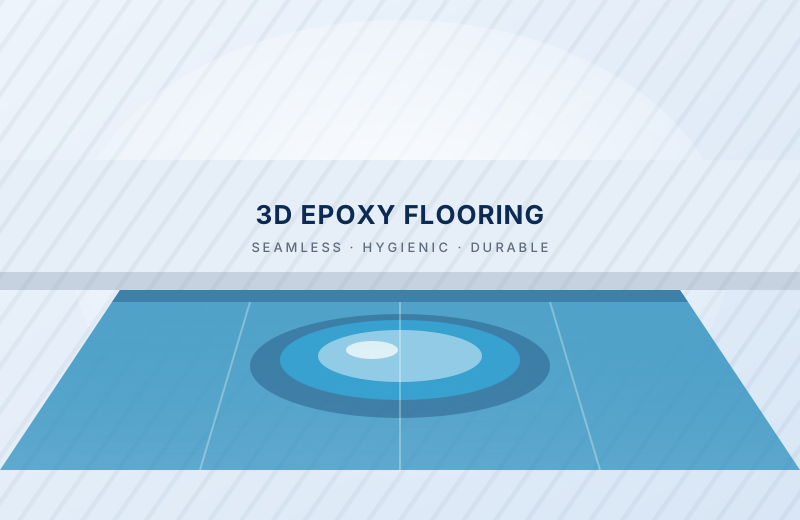
A 3D epoxy floor is a large-format printed image (water, sand, stone, a logo, a custom graphic) laid onto a prepared base and then encapsulated under several millimetres of optically clear resin.
The clarity and thickness of the resin is what creates the illusion of depth. Done properly it is genuinely striking; done cheaply, with a thin or slightly cloudy topcoat, the effect collapses. The base preparation and the quality of the clear coat matter more here than anywhere else.
Supplied to contractors and builders, or supplied and applied by our own teams with a written warranty.
| Type | Printed media encapsulated in clear two-component epoxy |
|---|---|
| System thickness | 3 – 5 mm total |
| Clear coat | Optically clear epoxy; UV-stable PU topcoat for sunlit areas |
| Image | High-resolution print on vinyl or fabric media |
| Base coat | Pigmented epoxy, usually white, for colour accuracy |
| Foot traffic | After 48 hours; full cure 7 days |
| Maintenance | Damp mop only, no abrasive cleaners |
Typical values for guidance. Actual figures vary by grade and manufacturer. The data sheet for the exact product supplied on your project is provided with delivery.
Supplied as a complete project system: base coat, printed media, clear resin and topcoat.
The sequence our teams follow, and the sequence we recommend to contractors buying the material from us.
Artwork is selected or created, scaled to the room and approved before printing.
The floor is ground, primed and finished with a white self-levelling base for true colour.
The printed media is laid flat and bubble-free. This is the most delicate stage of the job.
Clear resin is poured in controlled layers and spike-rolled to remove every trapped bubble.
A clear protective topcoat is applied once the encapsulation layer has fully cured.
Decorative metallic pigment epoxy floors with a marbled, liquid-metal appearance for showrooms, offices and retail.
View Details →
Self-levelling and coating grade epoxy floors in solid colours for factories, warehouses, pharma units and workshops.
View Details →
Acrylic and polyurethane sports surfaces for tennis, basketball, badminton, futsal and multipurpose courts, including line marking.
View Details →
Local and imported marble for flooring, staircases, cladding, vanities and counter tops, including fixing and polishing.
View Details →Tell us the area, the structure and the problem. We will recommend the right system, quote it in writing and, if you want, apply it ourselves.